



Helldivers 2 players can really take their mission’s success rate to the next level by using the right Stratagems. These special commands let players call down requests from their Super Destroyer during missions. Some of the best Stratagems in Helldivers 2 can make dealing with enemies so much easier.
This article goes through our picks for the best Stratagems in Helldivers 2. All of these Stratagems have helped us achieve victory in this game before, and we’ll explain exactly why they’re so good.
1: Autocannon

The Autocannon is a versatile support weapon that can penetrate heavy armor. It handles Automaton Devastators and Hulks easily and reloads relatively fast. Its main drawback is that it uses a backpack slot for its ammunition, but its damage output and utility across different mission difficulties make it worth it.
2: Quasar Cannon

The Quasar Cannon provides heavy anti-armor capabilities without needing a backpack slot. This energy weapon fires a concentrated blast that can heavily damage Chargers and Bile Titans, making it very effective for Terminid encounters. Instead of using limited ammunition, this weapon has a 15-second cooldown between shots. This lets players manage heavy threats consistently while using their backpack slot for something else like a Shield Generator or drone.
3: Eagle 500KG Bomb

The Eagle 500KG Bomb is designed to destroy enemies and structures around a small area. A direct hit from this stratagem can deal huge damage to heavy enemies, including Automaton Factory Striders and Terminid Bile Titans. Players must carefully choose its deployment timing due to the bomb’s specific blast radius and impact delay. It’s usually reserved as an emergency heavy kill option for objective demolition.
4: Orbital Laser

The Orbital Laser automatically sweeps across a designated area, targeting and damaging every enemy in its path. It sets the ground on fire for secondary damage and clears dense, grouped-up enemies. This stratagem is limited to three uses per mission and has a long cooldown period. Due to these restrictions, players usually save it for huge enemy waves or heavily fortified enemy bases.
5: “Guard Dog” Rover

The “Guard Dog” Rover is a backpack stratagem that deploys an autonomous drone armed with a laser rifle. It provides continuous 360-degree coverage, passively killing small, fast enemies like Hunters and Scavengers. Since the drone handles minor threats automatically, players can focus their primary weapons on larger targets. It needs strong spatial awareness to ensure the drone’s sweeping laser doesn’t accidentally damage allied Helldivers.
6: Orbital Precision Strike

The Orbital Precision Strike offers a highly accurate, single-target bombardment with a manageable 90-second cooldown. It features unlimited uses per mission, making it a reliable tool for destroying structures and heavy armor. Effective usage needs precise timing, as mobile targets can move out of the blast radius before impact. It goes extremely well with stun grenades or weapons that can temporarily immobilize difficult enemies.
7: Expendable Anti-Tank (EAT-17)
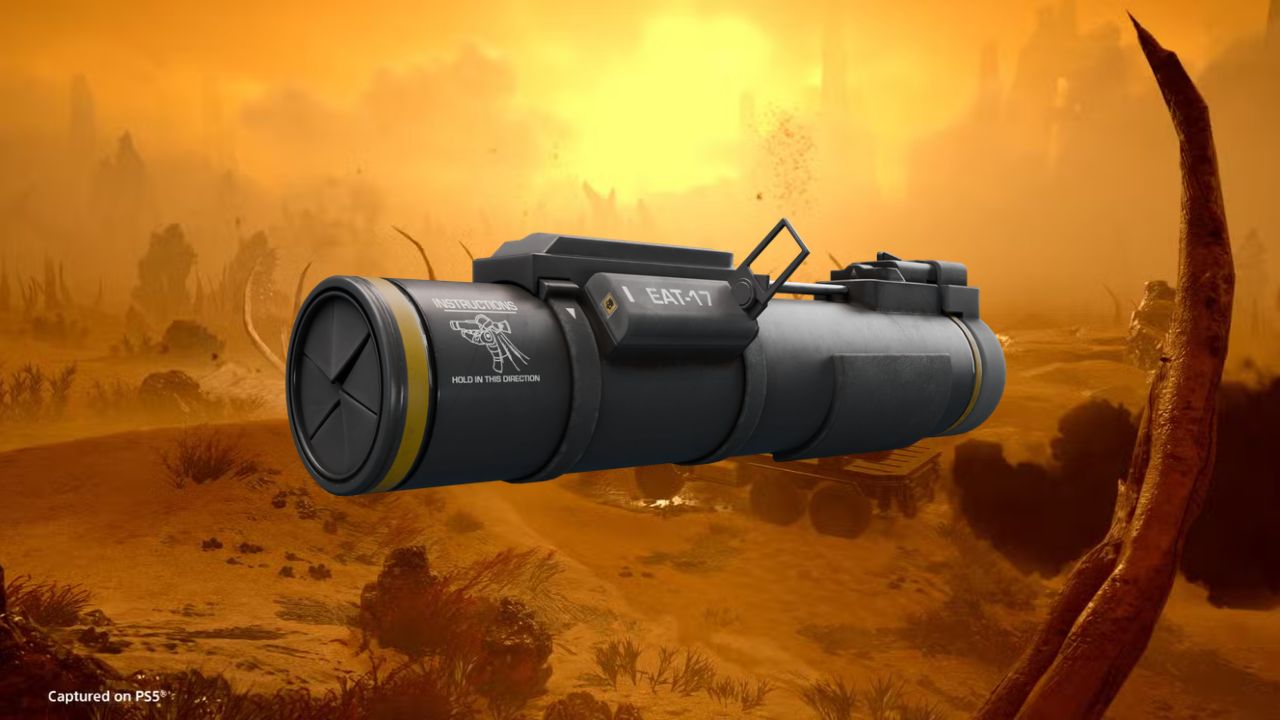
The Expendable Anti-Tank provides two single-use rocket launchers per deployment, designed for penetrating heavy armor. Its exceptionally short cooldown allows players to summon it frequently for almost every major engagement. Since the launchers are disposable, players don’t need to commit a permanent support weapon slot. This flexibility allows teams to share launchers dynamically when dropships or armored units appear on the field.
8: Rocket Sentry
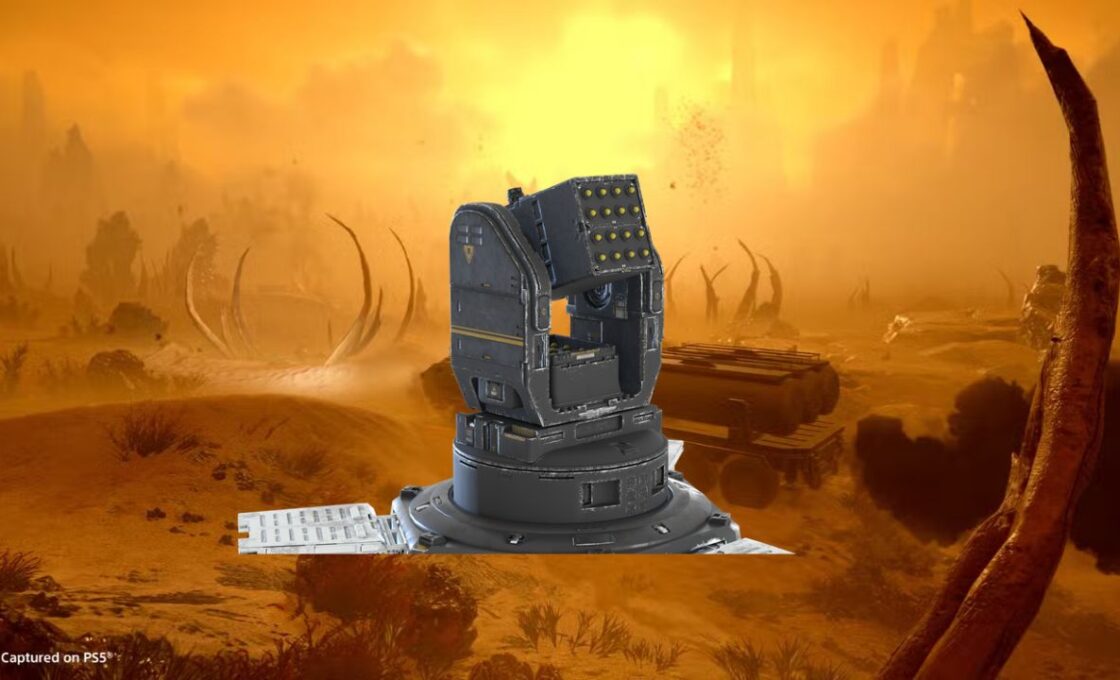
The Rocket Sentry acts as an automated defensive emplacement that targets medium and heavy enemies. Recent balance updates improved its health, making it a reliable choice. Placement is essential for maximizing the sentry’s effectiveness and survivability. Positioning it on higher terrain with clear lines of sight ensures it can suppress advancing forces during extraction or defense missions.
9: Shield Generator Pack

The Shield Generator Pack equips the user with a personal energy barrier that absorbs incoming damage. It heavily increases survivability against projectile weapons and melee strikes. When the shield is broken, it reactivates after a 12-second delay. If the shield is damaged and it doesn’t break, there’s a 60-second recharge time. It is extremely valuable against Automatons, where continuous ranged fire can quickly overwhelm players without shields.
10: Orbital Railcannon Strike

The Orbital Railcannon Strike in Helldivers 2 automatically targets the largest enemy within its deployment radius. It delivers an instant, homing attack that can potentially one-shot heavy threats like Harvesters and Chargers. While it does not need manual aiming, it has a relatively long cooldown. Players should try to avoid wasting it on medium-tier enemies and reserve it for the highest-priority targets on the battlefield.